1.9 KiB
1.9 KiB
| title | date | categories | author | tags | |||
|---|---|---|---|---|---|---|---|
| 快速开始 | 2022-01-18 19:21:21:46 |
|
Anges黎梦 |
|
环境安装
FastApi与普通的py标准库一样安装,直接使用pip install即可安装使用
pip install fastapi
开始使用
编写一个简单的应用
使用时,需要引入FastAPI的库,并创建一个app;
启动时,需要使用uvicorn,在main中编写启动命令,如下:
import uvicorn
from fastapi import FastAPI

app = FastAPI()


@app.get("/")
def test():
    return "Hello World"


if __name__ == '__main__':
    uvicorn.run(app='main:app', host="127.0.0.1", port=8000, reload=True, debug=True)
应用启动
直接脚本执行即可启动应用
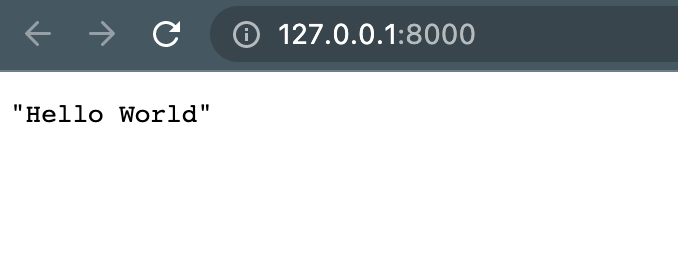
展示如下时,启动成功,访问地址http://127.0.0.1:8000
INFO:     Uvicorn running on http://127.0.0.1:8000 (Press CTRL+C to quit)
INFO:     Started reloader process [88610] using statreload
INFO:     Started server process [88612]
INFO:     Waiting for application startup.
INFO:     Application startup complete.
打开浏览器,即可请求已经写好的get接口
展示如下:
接口文档
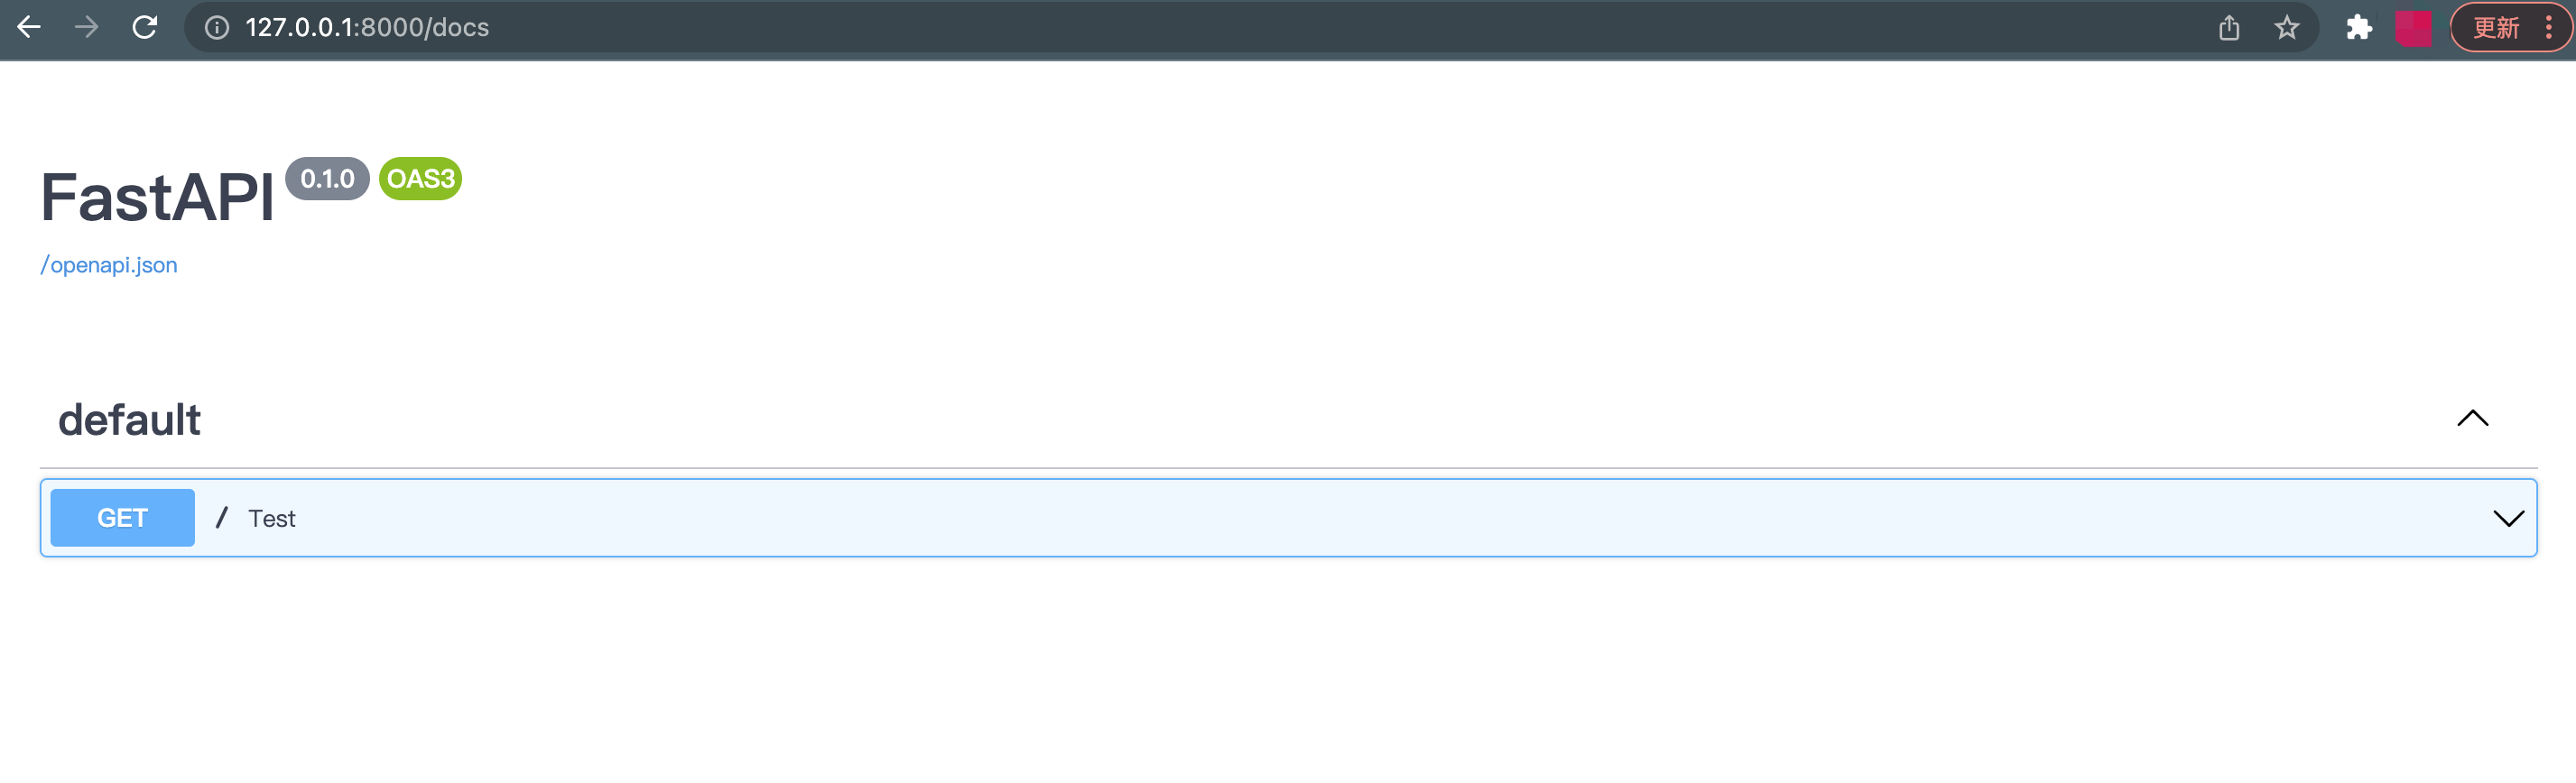
FastAPI集成了swagger和redoc
启动后即可直接打开使用,无需另外配置
swagger默认地址:http://127.0.0.1:8000/docs
swagger除了展示接口文档外,还支持接口调试,是开发者最常用的接口文档插件,非常便捷使用
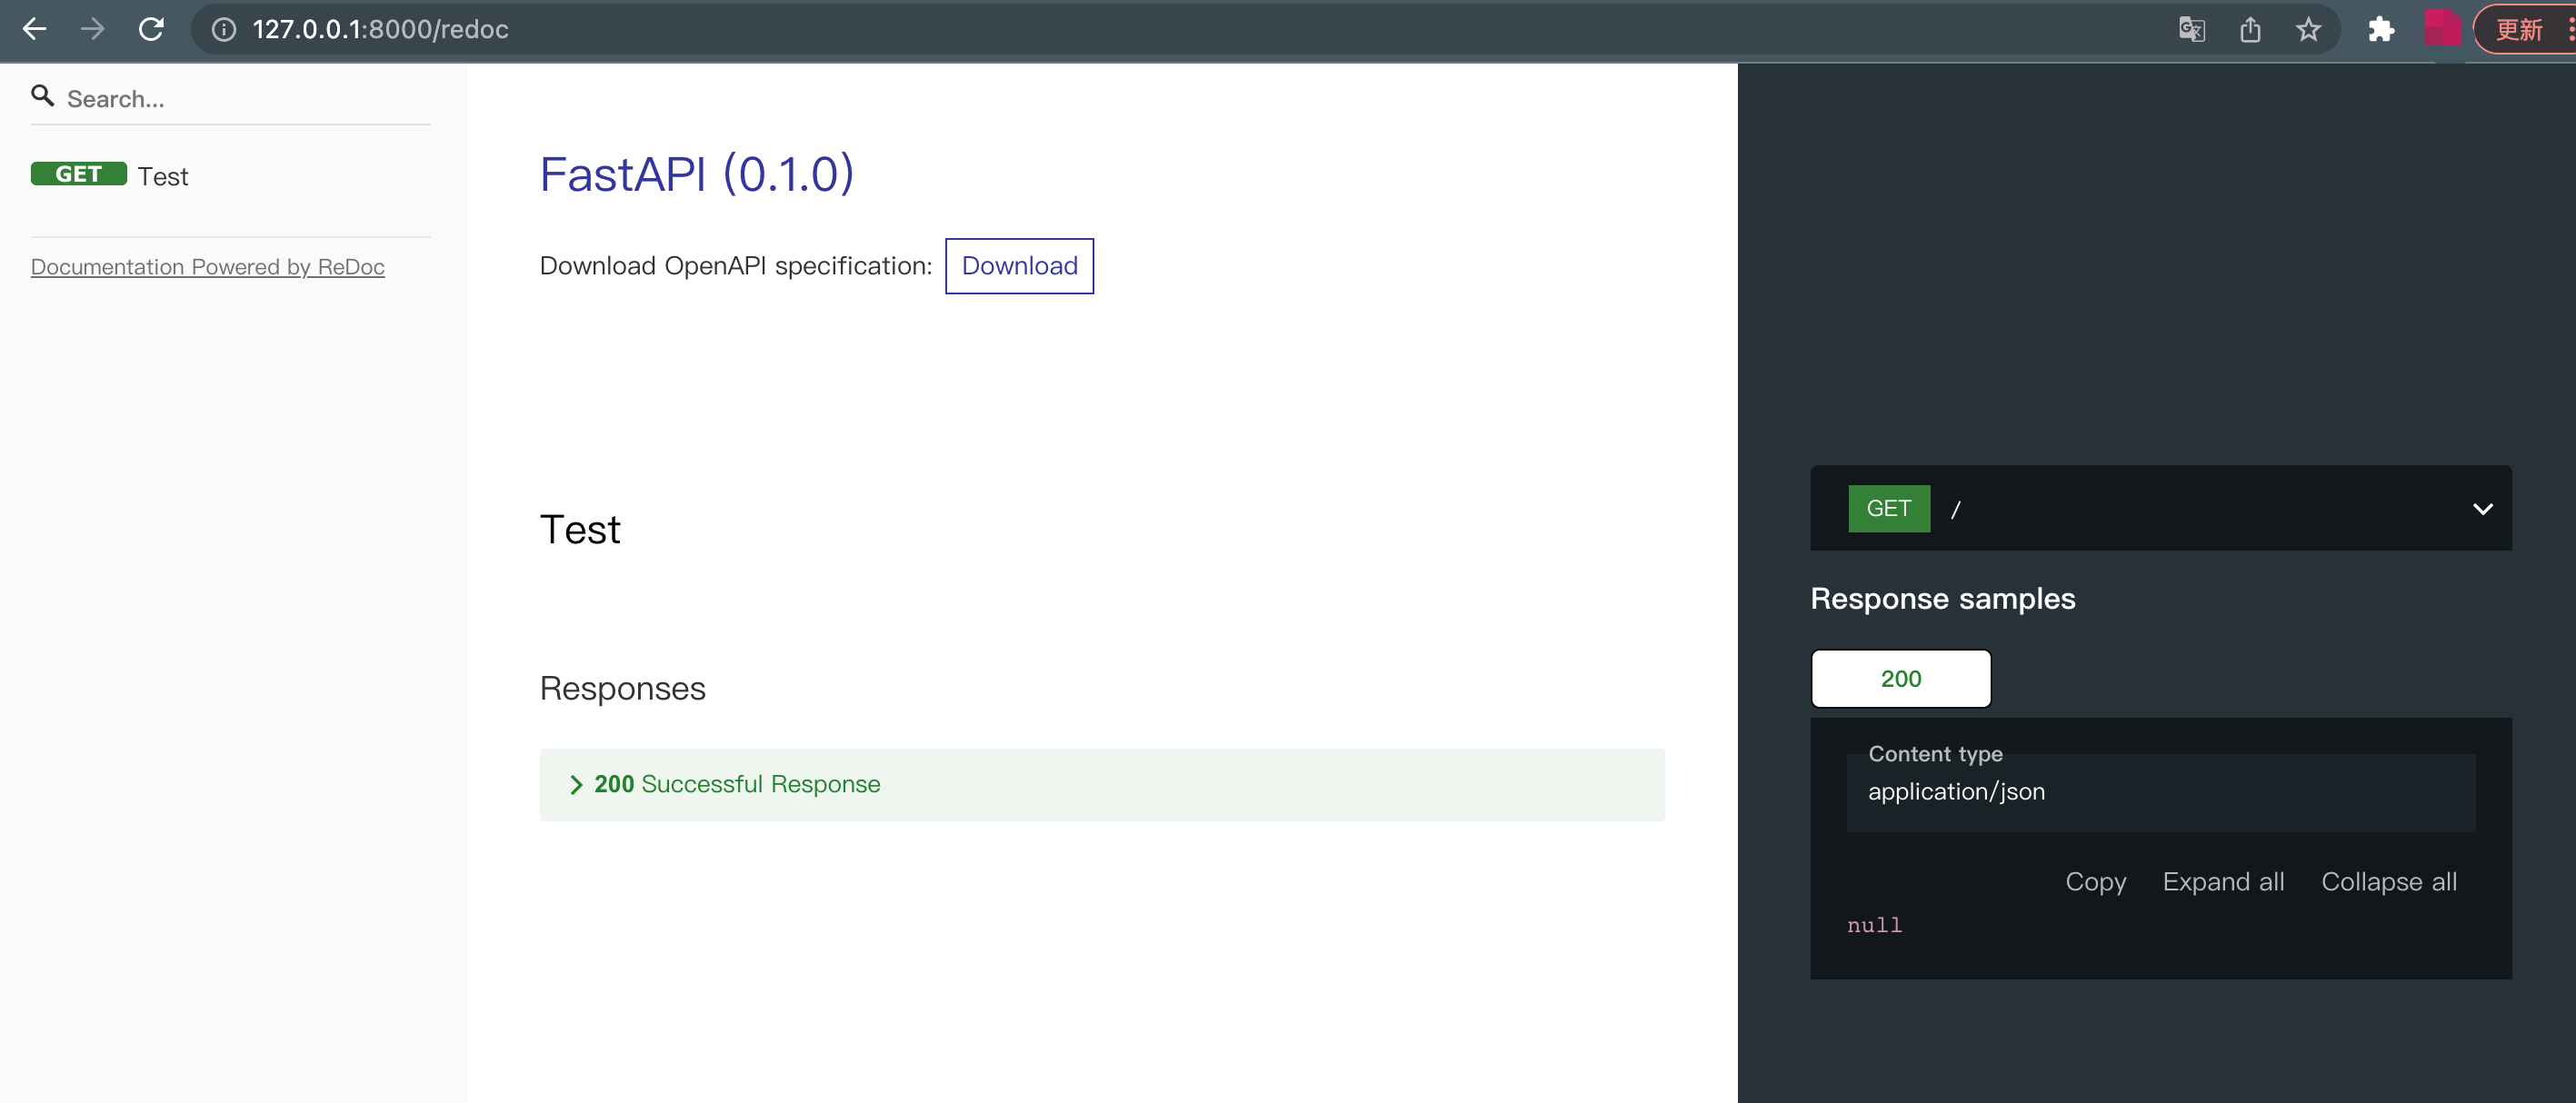
redoc默认地址:http://127.0.0.1:8000/redoc
redoc仅用于接口文档分类分组展示以及接口内容展示,不涉及接口调试
所以大家在使用上可以根据自己的需求选择使用